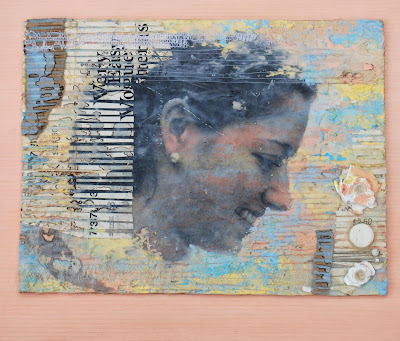
Step 1: Create a background using texture paste that I mixed with acrylic paint. The three colors I used were a light yellow, light blue, and salmon. I really liked the texture in the background. It reminded me of weathered furniture or chipping paint on wood. I really like that look and it reminds me of one of my favorite interior design styles. Step 2: Take a picture using a Nikon camera and a model. Print image with laser jet printer and carefully create image transfer on textured surface. Step 3: Continue adding the tinted texture paste on top of and around the image transfer. Step 4: Embellish the piece with thread, pins, buttons, corrugated cardboard, found papers and found objects. I think this piece was my biggest success thus far. However, I really don't like it because I wanted to make the image transfer become a fluid part of the piece and I feel like I failed at that. Comments?
Abby, this piece is amazing!!!! i enjoyed watching you complete this piece & the colors work very well together. The image transfer was completed well. great job!
ReplyDeleteThe best part about this piece is definitely the colors that were used. It matches the expression that Becca is portraying perfectly! I really love this.
ReplyDelete